I had posted this before on my first blog, Misunderheard Art, and it was well received, So I have decided to re-make and re-post it, along with a few other tips and ideas.
This is a tutorial for how to make your own waffle impression mold/stamp.
Once you make this, you can churn out a hundred waffles a day and they will all look the same.
 |
First things first: Materials!
You dont really need a lot for this, just some scrap clay, a long straight razor blade, and a work area.
 |
| Step One |
After youve gathered up your tools and clay, roll a ball about the size of a large grape. Flatten it out to a decent thickness: roughly 1/4 inch or less. It all depends how deep you want your waffles to be. Plus, if you make it too deep or shallow, you can always push more or less with the stamp to make up for that.
 |
| Step Two |
After rolling it out, take your long razor blade and make indents-rather than cuts or slices-into the clay, in rows going horizontally. Push the blade straight into the clay, making sure not to go all the way through. After making those indents, make indents in the clay going vertically. You will now see a grid-like impression.
 |
| Step Three |
After that, now youre going to make the squares more rounded so that when you push the mold into the clay, the waffles have the proper little pockets and look more realistic :)
Take the blade and lay it gently inside one of the indented lines. LIGHTLY yet firmly, push the blade to the side, like shown in the photos below. Continue doing this to all the rows, going horizontally, then vertically. Push both sides of the little squares, horizontally and vertically, to make all of the sides beveled.


After beveling all the edges of the stamp/mold this is what your piece should look like:

Once youve made the stamp and are happy with the size, depth, etc you can now bake it and give it a try!
I glued little pegs onto my stamps and made various sizes and depths for different scales and uses.
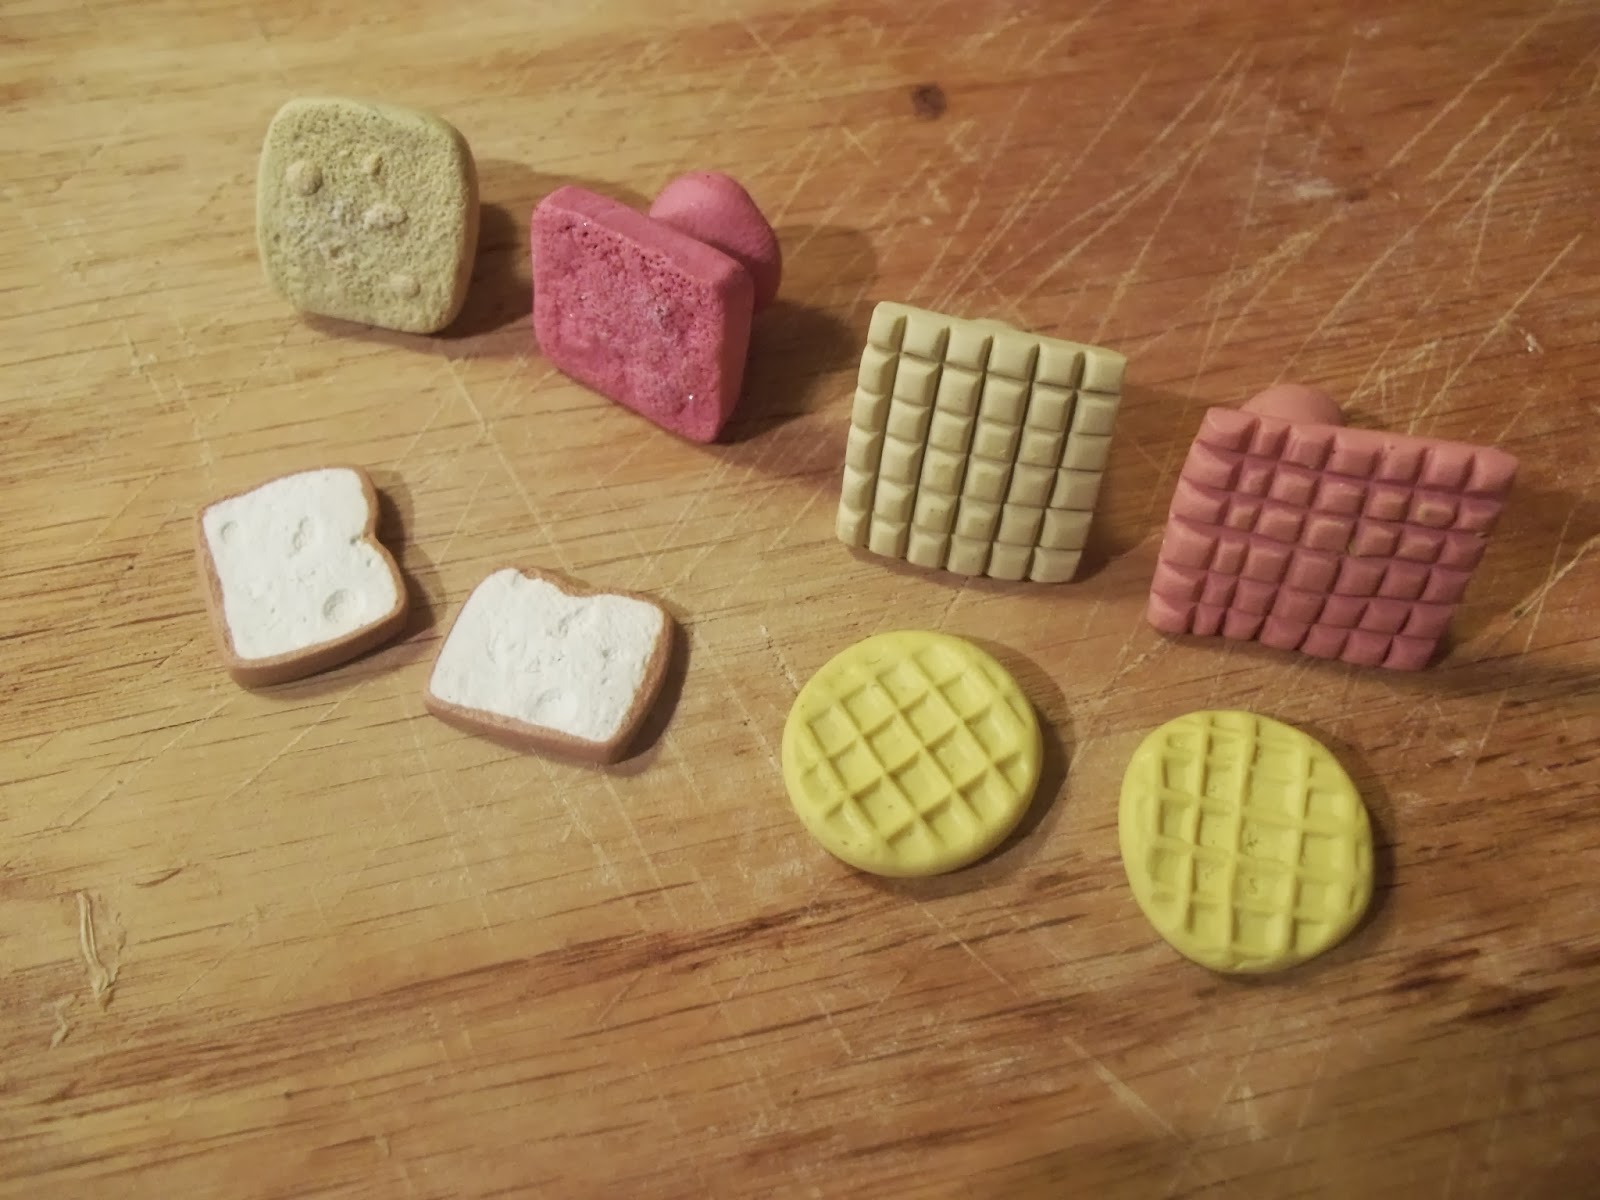
Heres a few of the stamps Ive made over the years and the finished waffles I made with them. These photos are from my original tutorial post.
The bread stamps in this photo is another example of what to use scrap clay for and a way to make making your little foods more fun and time saving!

I also came across an idea for cupcakes while making my waffle stamps..........
Have you ever looked at real life cupcakes and thought "Why cant I get mine to look like this?" Well, I have! I also took a long look at things around my house to help me make a better cupcake and found this.......
On the little tubes of my favorite glue- E-6000- the caps resemble the cupcake bottoms!!!!!!
So, all you need to do is place some scrap clay around the cap, pop it in the freezer (just the cap and clay-no glue!), and then pop it off and bake! This makes a helpful cupcake base mold.
This is only one of many many ways to make cupcake bottoms and when you pull the clay out, it tends to stretch, so I recommend using Amazing Mold Putty to make your molds and not clay but if you cannot afford that stuff or dont have access to it, this way will work just fine :) It just requires a little smoothing and pushing and twerking the piece before final baking.


I hope you have enjoyed this tutorial and helpful hints :) If there are any questions, please post them below or feel free to message me!!
Have a lovely day <3